general
How to Plan an Event Step-by-Step: A 12-Week Checklist Anyone Can Follow
Published 24 June 2026
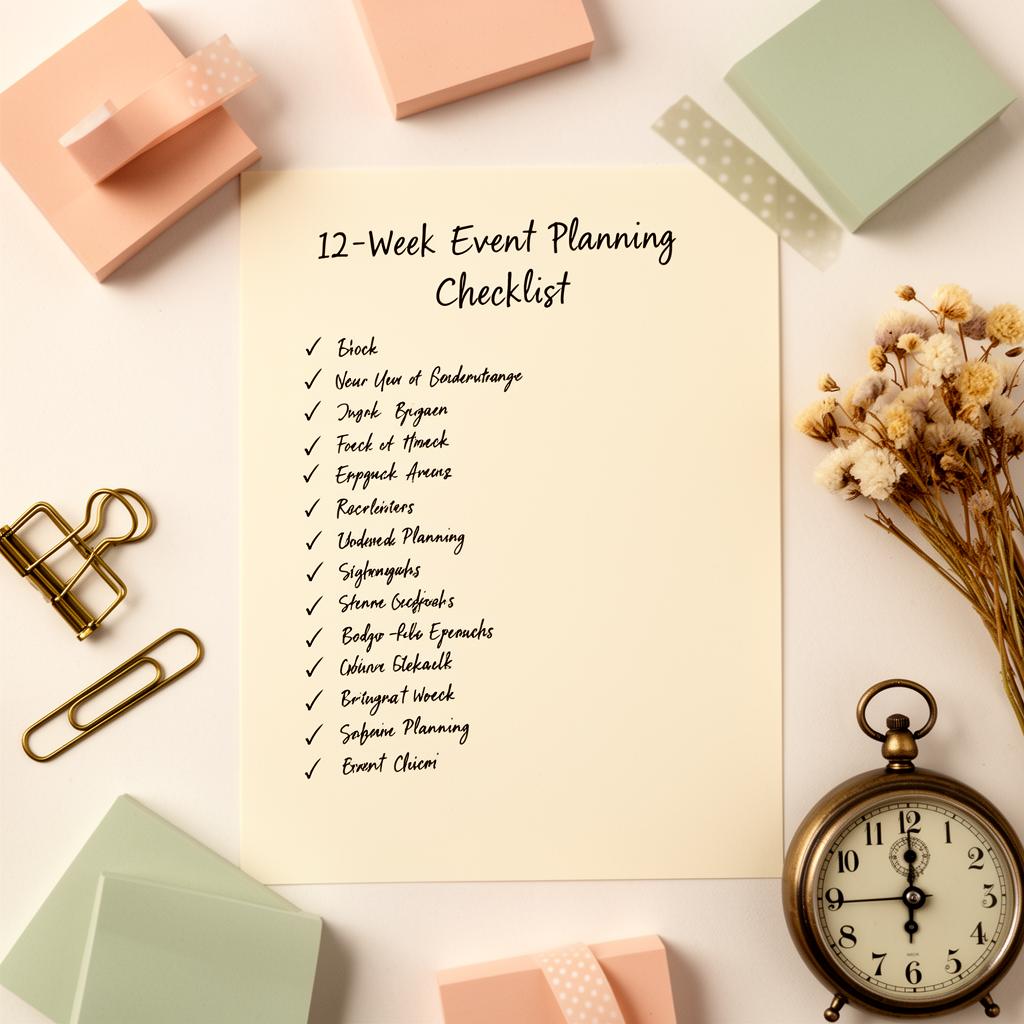
Knowing how to plan an event step-by-step isn't about memorising a checklist of 80 tasks. It's about doing the right tasks at the right time. The order matters more than the list, because doing things out of order is what creates the late-night panic at week 2.
This is the exact 12-week sequence professional planners follow, mapped to plain-English actions you can do from your phone. Have less than 12 weeks? Skip to the compressed timeline at the end.
Week 12: Define the event in one sentence
Before anything: write one sentence. "A 50th birthday for Mum where 40 guests feel celebrated and watch a tribute song." That sentence becomes your filter for every decision. If a choice doesn't serve the sentence, cut it.
Week 11: Set a realistic budget and guest count
Pick a number, divide by guests, see if the per-head budget is sane for the kind of event you wrote in week 12. Three buckets: 40% venue + food, 20% experience (entertainment, photo, personalised moments), 15% invitations + decor, 25% buffer. Never start without a buffer.
Week 10: Choose a date and venue
Three rules: avoid public holidays unless the event needs them, check school terms if kids are coming, and book a venue 20% bigger than your final guest count (people invite plus-ones you didn't expect).
Week 9: Send save-the-dates
This is the single most-skipped step. A save-the-date sent 9 weeks out gets a 30% higher attendance rate than an invite sent 3 weeks out. Use a quick digital save-the-date — even just a styled WhatsApp graphic works.
Week 8: Lock the big vendors
Catering, photographer, sound or entertainment. Get written confirmations, not verbal "yeses". This is the week things start to feel real.
Week 6: Send the formal invitation
Six weeks out is the sweet spot — far enough that guests can plan, close enough that they actually open it. A digital invitation with built-in RSVP tracking means you don't have to chase replies on three different platforms. Add the event details, dress code, parking, kids policy, and a clear RSVP deadline (2 weeks before the event).
Week 4: Plan the "moments"
This is where ordinary events become memorable. Pick 1–3 surprise moments:
- A personalised song for the guest of honour with their story in the lyrics.
- An animated greeting card collecting voice messages from everyone unable to attend.
- A short tribute video — 12 photos, 60 seconds, plays once during the speeches.
Browse real examples on the samples page.
Week 3: Build the run sheet
A minute-by-minute timeline of the event day. Doors open, welcome drinks, speeches, cake, music change, taxis. Share with vendors 7 days out. Print 3 copies for the day.
Week 2: RSVP deadline + final headcount
Close RSVPs, send the final number to caterer, confirm seating chart, brief your "second brain" (one trusted person who will field guest questions on the day so you don't have to).
Week 1: Walkthrough and rehearsal
Visit the venue, check the AV, confirm vendor arrival times, prepare a small "emergency kit" (Band-Aids, safety pins, stain remover, phone charger, paracetamol, gaffer tape — all the things you'll wish you had).
Event day: Host first, plan never
Your only job today is to be present. The run sheet handles itself, your second brain handles the logistics. Trust the work you did in weeks 12–1.
Day +1 to +7: The "close" phase
- Send thank-yous within 48 hours — handwritten cards, voice messages, or a final animated greeting card.
- Share a single photo/video link with all guests.
- For milestone events: deliver the personalised song or video as a follow-up keepsake the guest of honour can replay forever.
Compressed timeline (under 4 weeks)
Short on time? You can absolutely pull this off. Skip save-the-dates. Send the digital invitation immediately. Pick a venue you've used before or that doesn't require booking (home, park, restaurant). Lean heavily on digital tools — invitations, song, card, video — that ship in minutes. See our dedicated guide to last-minute event planning for the full compressed playbook.
The one rule that ties it all together
Decisions early, details late. Big-picture choices (date, venue, guest list, vendors) belong in weeks 12–8. Small choices (favours, table numbers, playlist order) belong in weeks 2–1. Reverse that and you'll burn out at week 6.
Start the digital invitation tonight — even if every other step is hazy, locking that one task gets the RSVPs flowing and the rest of the plan starts to design itself.

Frequently Asked Questions
How far in advance should I send invitations?
Save-the-dates 9 weeks out, formal invitations 6 weeks out, RSVP deadline 2 weeks before the event. For destination or wedding events, double those timelines.
What if I have less than 4 weeks to plan?
Skip save-the-dates and send the formal digital invitation immediately. Choose a venue that doesn't require advance booking, lean on digital tools that ship instantly, and limit the guest list to keep logistics simple.
Do I need a run sheet for a small event?
Yes, even for 15 guests. A 1-page timeline (arrival, food, speeches, music change, end time) keeps the host from being asked the same question 30 times and lets you actually enjoy the event.
What's the most commonly forgotten step?
The 'close' phase — sending thank-yous and a final photo link within 48 hours. It's what separates a great event from one people forget within a week.
Should I use paper or digital invitations?
Digital, unless you're planning a formal wedding and the paper invitation is itself a keepsake. Digital invitations get 30% higher response rates, include automatic RSVP tracking, and let you embed photos, music or a short welcome video.